After spending enough time on our Mage store development it’s very common to ask the question, How to upload Magento site on server or live environment. Here we’re assuming that development work has been done properly such as including products, setting up different prices and offers and designing for example UI, theme design and template etc. And now we would like move our first Mage ecommerce from local environment to live server for commercial purpose. In such case, the tutorial will guide you to upload your Mage site in the live internet for great exposure.
Checklist – How to upload Magento site on server
Following is a checklist to go through before uploading the site on live server:
First thing to get start is to buy a Magento domain service. Here we’re assuming you already purchased a domain earlier. But in such case we always advise to buy proper dedicated Mage web domain service for future ease in development and best user experience. Here we like to include our domain provide dedicated Magento SSD cloud storage server comes with 24×7 web development support. Also includes premium features such as Aspiration CDN and LiteMagecache etc. So, you can spend more time in development and making business strategy and works such moving site on live server is taken care of by our expert developers.
Tanzia Farin Chy for Aspiration Hosting
Further moving straight into the point, secondly we need to export DB from our localshost into the live server.
Exporting DB- How to upload Magento site on server
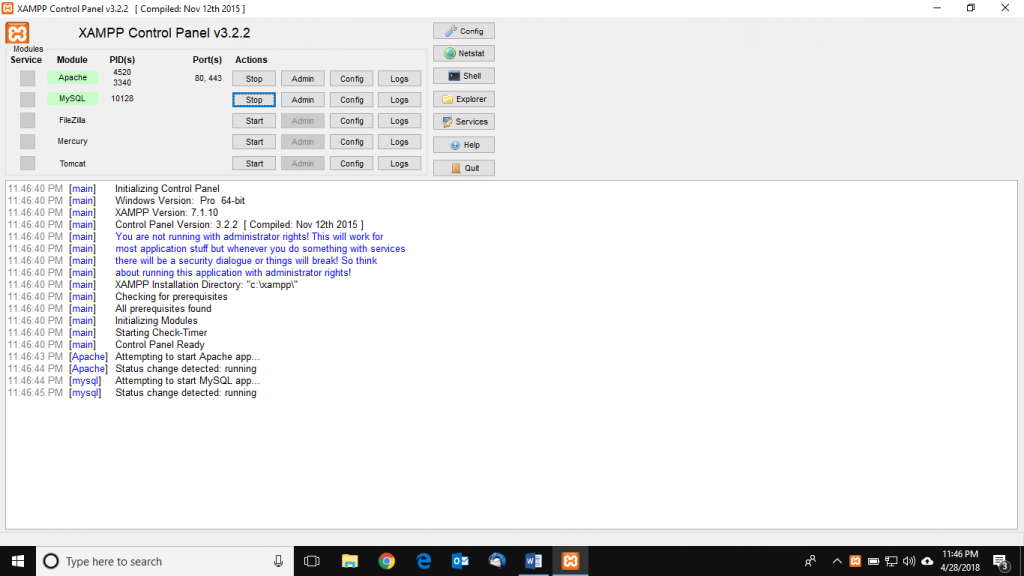
To begin with using XAMPP or WAMP(Windows) , MAMP(Mac) or LAMP(Linux) login in to the phpMyadmin account using user credentials.
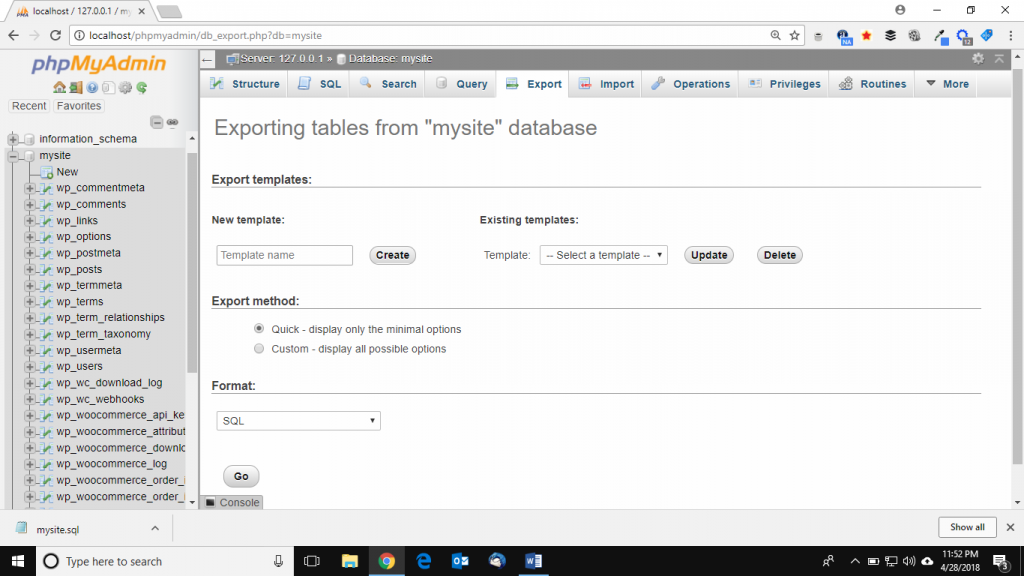
Now navigate through and open the store’s DB. Here find the EXPORT button on the top of the phpMyadmin page.
To export DB click on the export button and later click next to download the DB files in .sql format. Hence the following picture will help more understand the process:


