As we all know Mage is a Merchant open source eCommerce software. However, anyone can easily build their own online store using it. Because the platform has a safe and user friendly (non-coder) environment for Merchants. However, there are two versions of Mage that are available in the Market Place. First the Enterprise and second Community version. Here we will discuss how to Install Magento 2 on Ubuntu 15.04 or greater versions.
Requirements before we Install Magento 2 Ubuntu:
Before we begin, Mage requires a minimum of 500 GB of Hard Drive space. Along with 4 GB of Ram with your favorite Linux Distro. Furthermore, we must have a Eth0 device with a solid Internet connection. Regarding DB (database) we can use MySQL 5.6 or greater versions. Next PHP 5.4 or greater versions with Apache/Nginx is recommended for the best performance.
Before we begin, installing Magento 2 on Ubuntu can be hard, you may want to consider making the process easier. Specifically, our hosting plans come with “Magento One-Click-Installers“. Just login to your cPanel to take control. Moreover we provide 24×7 tech support, even with the basic plans. So, don’t hesitate, you may miss out! The plans begin at $9.99 per month. Finally, Enjoy a 31% discount by using our Halloween 2017 promo (expires Nov 1, 2017).
Installation process:
First, we will connect as the ROOT USER using the following command:
sudo su
Therefore, we will install the following versions:
apt-get Install required php toolkit apt-get install php5 libapache2-mod-php5 php5-mcrypt php5-common php5-cli php5-ldap php5-gd php5-mysql php5-tidy php5-xmlrpc php5-curlThen install Apache using the following command:
apt-get install apache2
Right after Apache Install MySQL as server using the MySQL client:
apt-get install mysql-server mysql-client
Now change as per the requirements Apache config file:
vim /etc/apache2/sites-available/000-default.conf
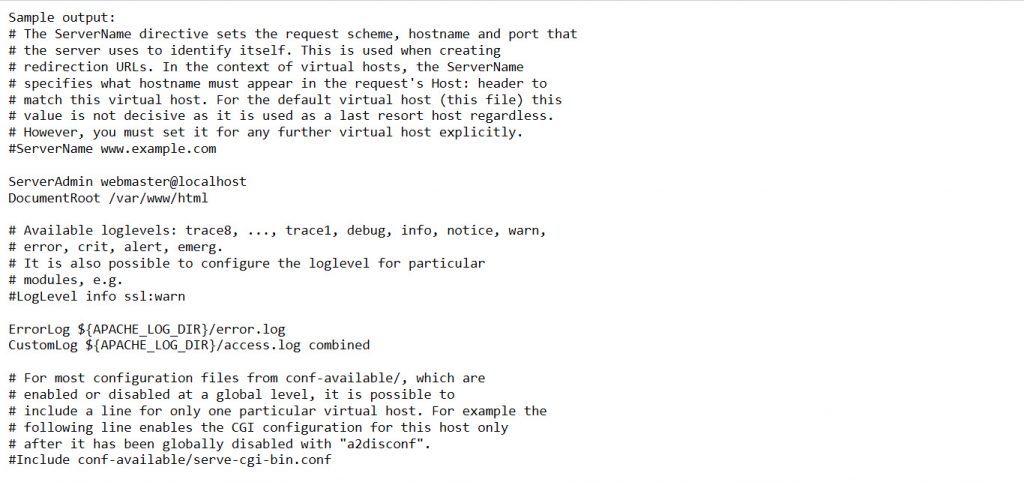
Next the sample output is as following:
While using the editor add/edit the mentioned section in to the Apache Server Config file:
<Directory /var/www/>

Options Indexes FollowSymLinks MultiViews

AllowOverride All

Order allow,deny

allow from all

</Directory>
Next follow these steps to change the PHP memory limit in the Apache server. The codes are following:
vim /etc/php5/apache2/php.ini
Here we will the change the PHP memory limit from 128M to 512M.
memory_limit = 512M
Start the Apache web service using the following commands:
/etc/init.d/apache2 start
Now, get the MySQL DB ready for the Mage setup. Please follow the steps to configure correctly.
mysql -u root -p
Then create a DB using the name “my_store” (or anything you like).
mysql>CREATE DATABASE my_store;
Create a user name “my_store_user”
mysql>CREATE USER my_store_user@localhost IDENTIFIED BY 'user_pass';
Next we will setup privileges for “my_store”. As “my_store” must have all privileges for the Mage DB:
mysql> GRANT ALL ON my_store. * TO my_store_user@localhost;
Downloading Mage 2:
Now using the following commands download the Mage .zip file.
wget http://www.magentocommerce.com/downloads/assets/2.2.0/magento-2.2.0.zip
Here we will extract the Mage 2.2.0.zip file. Then we will make a copy of the contents to the following path:
/var/www/html
unzip magento-2.2.0.zip
cp -Rrfv magento/* /var/www/html/
Next, we will change the permissions as following:
chown -R www-data:www-data /var/www/html/
Then edit file permissions as per requirements.
chmod -R 755 /var/www/html
Finally, using following commands restart Apache & the MySQL DB
/etc/init.d/apache2 restart
/etc/init.d/mysql restart
Install Magento 2 Ubuntu
Now, Let’s get started with the Mage installation. Open the following link in browser.
http://127.0.0.1/index.php/install
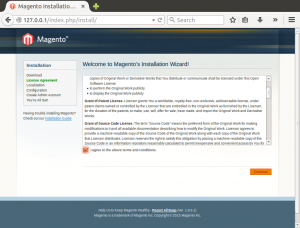
Then click next to continue with setup.
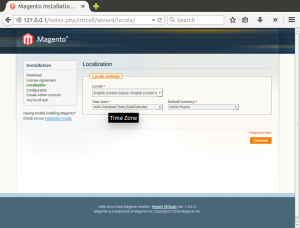
Next setup and insert personal details. Such as Time zone, Language & Currency for the site.
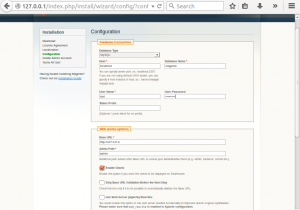
Further provide the DB credentials (user_name, pass etc.). Just as similar as we set up earlier.
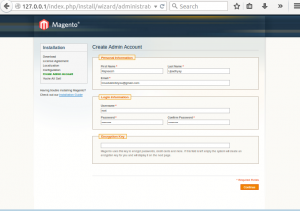
Now provide contact details such as email and name to create the admin account.
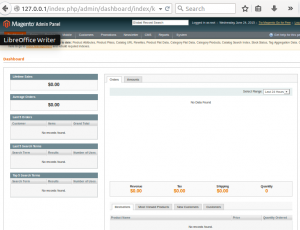
In the next screen, two options will appear on screen. Now, click to backend. It will redirect to the login page. Then login using your admin account details. Finally, the dashboard looks exactly like the following screen.

