Here we’ll continue with Magento installation steps for WampServer. So, follow this simple step by step tutorial to install or move Magento into WampServer.
However, our Mage hosting plans offer premium services like OneClick Mage installer. Further services like Aspiration CDN, LiteMage cache & Cloud SSD will make your life easier. As a result, enjoy faster loading speeds than ever while developing your site . In a word, similar as off editing in a local server like Wamp. Hence all of these premium features cost $9.99 per month with a basic plan.
Tanzia Farin Chy for Aspiration Hosting
Magento installation steps – Moving Magento in Wamp
1. First go to the Download folder and find the Mage Community Ed. ZIP file.
2. Secondly extract the ZIP file using winrar or winzip etc.
3. Now Copy/Cut the unzipped folder or file.
4. Next go to the Local Disk (C:) . Here we assumed the WampServer is allocated under the partition Local Disk (C:).
5. Here we’ll find a folder “Wamp”. If not don’t forget to check the folder “Program Files or Program Files x86”. Either we can also chose any location for WampServer installation.
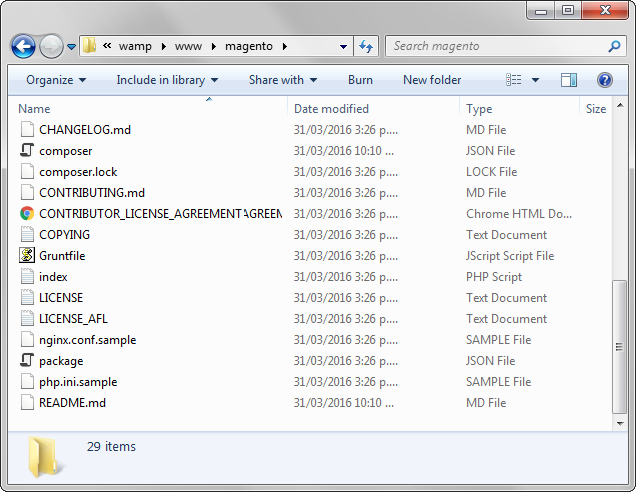
6. However paste the entire Mage folder under Wamp> www DIR.
7. Further using browser type in localhost/FolderName. If you name the Mage folder as “MySite”. Here we’ll type localhost/MySite. And remember the folder name is case sensitive and we can’t use any space.
Magento installation steps – Installing Magento
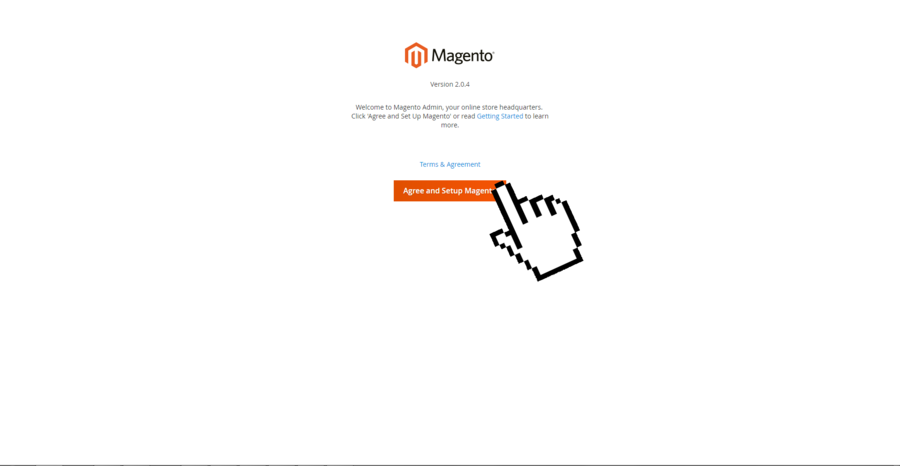
8. Likewise any other Mage installation wait till a Mage setup screen pops up.
9. Next Click . Now Mage will run “check dependencies” to ensure the Wamp is ready to continue with setup process.
10. So, press to continue setup.
11. If everything goes perfect click the button in top right corner of the screen.
12. Note: Don’t close the tab and open a new tab.
In the next and final part we’ll setup DB and later finalize the installation.


