As we discussed earlier, Magento is a popular CMS among eCommerce users worldwide. For these reasons, thousands of selling platforms are coming live everyday using Mage. So, it becomes essential for developers to use a platform where they can easily develop different sites using their PC as a local server. Also Windows became the most popular OS in the past few years. Now today if we think of a Magento windows server for local PC use, we’ll end with the name “WampServer”. And yes! In these following articles we’ll discuss the process to create Magento Windows Server. By using WampServer & Mage Community Ed.
Ah! As we’re creating our first Mage site in Magento Windows Server, here WampServer. So, it becomes necessary for us to transfer the site right after the development ends. And it’s obvious to do with expert hands. Either it might cost the site, contents or data etc. So, Aspiration hosting can be that pair of hands. As we’re providing free site transfers with any of three Mage hosting plan. And absolutely free of any cost !!! Here, learn more about free site transfer. Tanzia Farin Chy for Aspiration Hosting
Magento Windows Server using WampServer – Download Mage
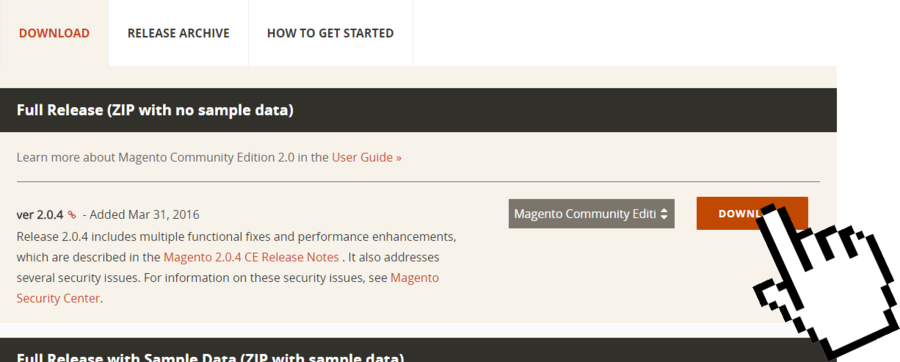
However using your browser google Mage download page. Next browse through the Mage Download Page and find Mage Community Ed. Here, we’ll use the Latest Mage Community Ed.
For further details checkout our previous articles about downloading Mage.
As shown in the screenshot, select ZIP and press download. If you’re already a Mage client simply login with your Mage account. On the other hand you might need signup with a Mage account to keep going with download.
Here learn more by reading relevant articles on WampServer.
So in the second part, we’ll continue the same and learn to move Mage in WampServer.

